What to Expect During an AC Installation: Timeline, Disruptions, and Tips
What to Expect During an AC Installation: Timeline, Disruptions, and Tips
When summer temperatures hit the mountains, there’s nothing worse than a malfunctioning or missing AC system—especially in Vail or Aspen. If you’re planning a new AC install or replacing an older unit this month, knowing what to expect can turn a stressful experience into a smooth, predictable process. Here’s everything you need to know—from timeline and disruptions to preparation tips that will keep your summer—and your peace of mind—cool.
1. Typical AC Installation Timeline
Day 0: Pre-Install Prep (Before Technicians Arrive)
- Scheduling Confirmation: We confirm your appointment with a reminder call or text.
- On-Site Prep: You clear the installation area—inside and out—so technicians can access the unit easily.
- Logistics Check: We verify power access, thermostat location, and homeowner availability.
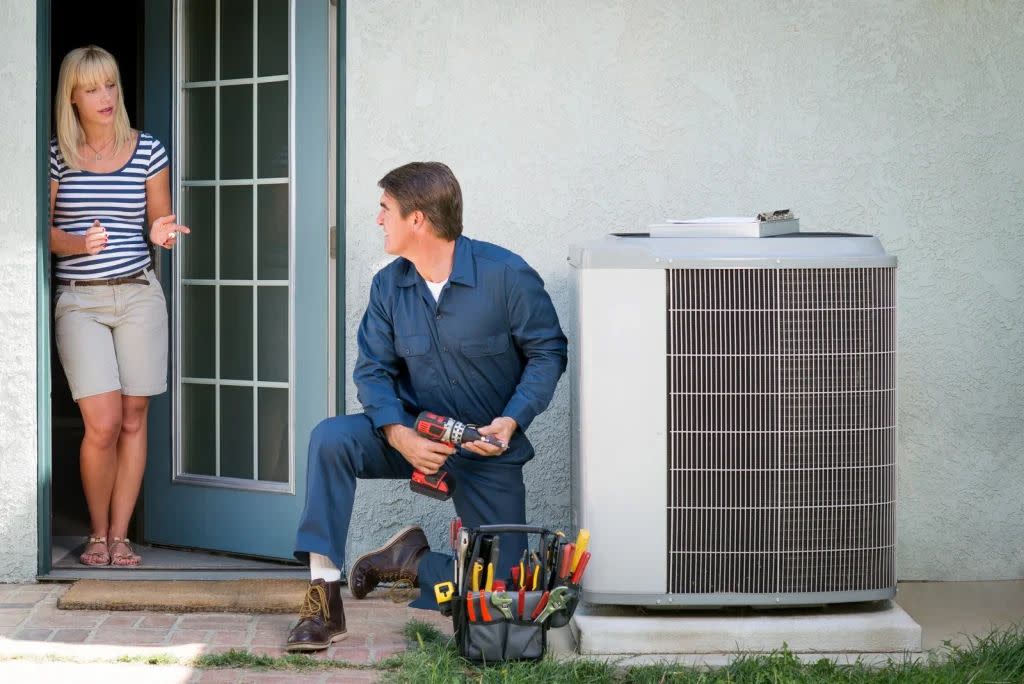
Day 1: Main Installation Day – Expect 6–8 Hours
- Morning Arrival & Setup (First 30 minutes): Technicians arrive, set up drop cloths, and review the job plan.
- Old Unit Removal (1–2 hours): We safely disconnect refrigerant, power, and drain lines, then remove the existing unit.
- New Equipment Placement & Rigging (1–3 hours): Depending on model type (split system, condenser, etc.), equipment is positioned—may involve crane placement on rooftops in mountain terrain.
- Interior Work (3-4 hours): Our team installs the air handler/furnace, reconnects ductwork, and lays groundwork for electrical and condensate lines.
- Outdoor Connections & Electrical (1–2 hours): Wiring, refrigerant lines, and drain piping are connected and tested for leaks.
- Initial System Start-Up & Calibration (1 hour): We charge the system, power on, and check for cooling function. Brief system walkthrough and thermostat explanation follows.
Day 2: Follow-Up & Final Testing (Another full day)
- Performance Check: We revisit to ensure proper airflow, refrigerant levels, and system balance—critical at high elevation.
- Permitting & Paperwork: Final documentation, warranty registration, and building permit sign-off (if needed).
Homeowner Walk-Through: We cover maintenance tips, filter care, thermostat use, and answer questions.
2. Possible Disruptions & How to Handle Them
Noise & On‑Site Activity
- Expect equipment noise, especially from compressors and power tools. We minimize this by using quieter models and scheduling the noisiest tasks mid-day.
Temporary Loss of HVAC Access
- Mid-internal system install, your old AC may be offline in the heat. If this is an issue, ask us about portable cooling options during your service.
System Setup & Testing
- You might hear the system turn on and off multiple times as we calibrate airflow, refrigerant pressure, and temperatures for optimal performance.
Exterior Work & Yard Access
- Outdoor units are usually installed near the condenser. We aim to keep yard infrastructure intact and typically use lightweight platforms that won’t damage grass or landscaping.
3. Prep Tips to Make Installs Go Smoothly
- Clear pathways to both exterior and interior equipment—technicians appreciate a direct route.
- Secure pets—keeping pets in a safe room avoids stress and interference.
- Double-check access—our trucks and crew need tight access to your property, so check gates, paths, and doorways.
- Temporarily unplug fragile items such as smart thermostats or delicate electronics near the install area.
- Plan your day accordingly—service often lasts a full workday, so clear your calendar or work from home if needed.
4. Local Considerations for Vail & Aspen
- Elevation Matters: At high altitudes, proper refrigerant charge is vital for performance.
- Rugged Terrain Access: Rooftop placements or mountain-grade installations may require cranes or hiking gear; we handle the logistics.
- Seasonal Timing: July brings altitude-intensified summer heat. A new AC now means staying ahead of peak demand.
- Ventilation Needs: Mountain homes require precise ventilation planning—especially in tight builds—so we evaluate fresh-air intake vs. exhaust options.
5. When to Call a Professional
- Before Installation: If wiring or electrical panels look old or underpowered.
- During Install: Suspected refrigerant leaks or motor humming.
- After Install: Drop-offs in cooling power, odd noises, or increased energy bills.
6. Responding to “What Ifs”
- What if it takes longer than one day?
Unexpected duct modifications, permit delays, or last-minute needs can extend installation. We always communicate and plan around your availability. - What if the new system isn’t cooling well?
This often signals airflow or refrigerant issues that are easily adjusted during follow-up. - What if your install reveals a plumbing issue?
We’ll alert you immediately, freeze the job for your approval, and offer to handle it—saving you the hassle of calling another company.
7. Your Homeowner Checklist
| Task | Done?  |
| Clear pathways for crew and equipment | |
| Secure pets in a separate area | |
| Move holiday décor, plants, or outdoor furniture | |
| Check interior access points (attic, closet, mechanical rooms) | |
| Save technician contact info | |
| Note any current cooling or plumbing issues | |
| Plan your work day or home schedule |
8. Take Action Today—Book Your Slot
July is peak season for mountain AC installs. Units and technicians book out fast—don’t wait till everyone’s hot and desperate. Reach out now to reserve your spot and get ahead of the midday heat.
Conclusion
An AC installation doesn’t have to be a headache. With a clear timeline, manageable disruptions, and local mountain-aware pros, you can stay in control—and in comfort. When that new unit hums on day one of summer, that’s when you’ll know it was worth it.
Need help in Vail or Aspen right now?
Simply call American Plumbing, Heating, Cooling, & Electrical at (970) 748-8667
Or visit https://americanpha.com/ to schedule your install.
We’ll take care of the heavy work so you can just enjoy the cool.
 Call now or book online — and we’ll be there before the heat gets worse.